

Analysis
Important
Prerequisites Before creating a new analysis, ensure that at least one proposal has been created within your organization. If not, create a proposal first here.
Creating an Analysis
1. Navigate to Analysis
In the Home section, select Projects from the left-hand menu and open the desired project. You'll arrive at the project's Overview page; switch to the Analyses tab to reach the Outgoing page.
2. Initiate Creation
Click + Add to open the analysis creation form. Here you can optionally provide a Display Name and Description — a URL-friendly Name is generated automatically but can be edited. Click create to open the Analysis Wizard, where all other aspects of the analysis are configured. 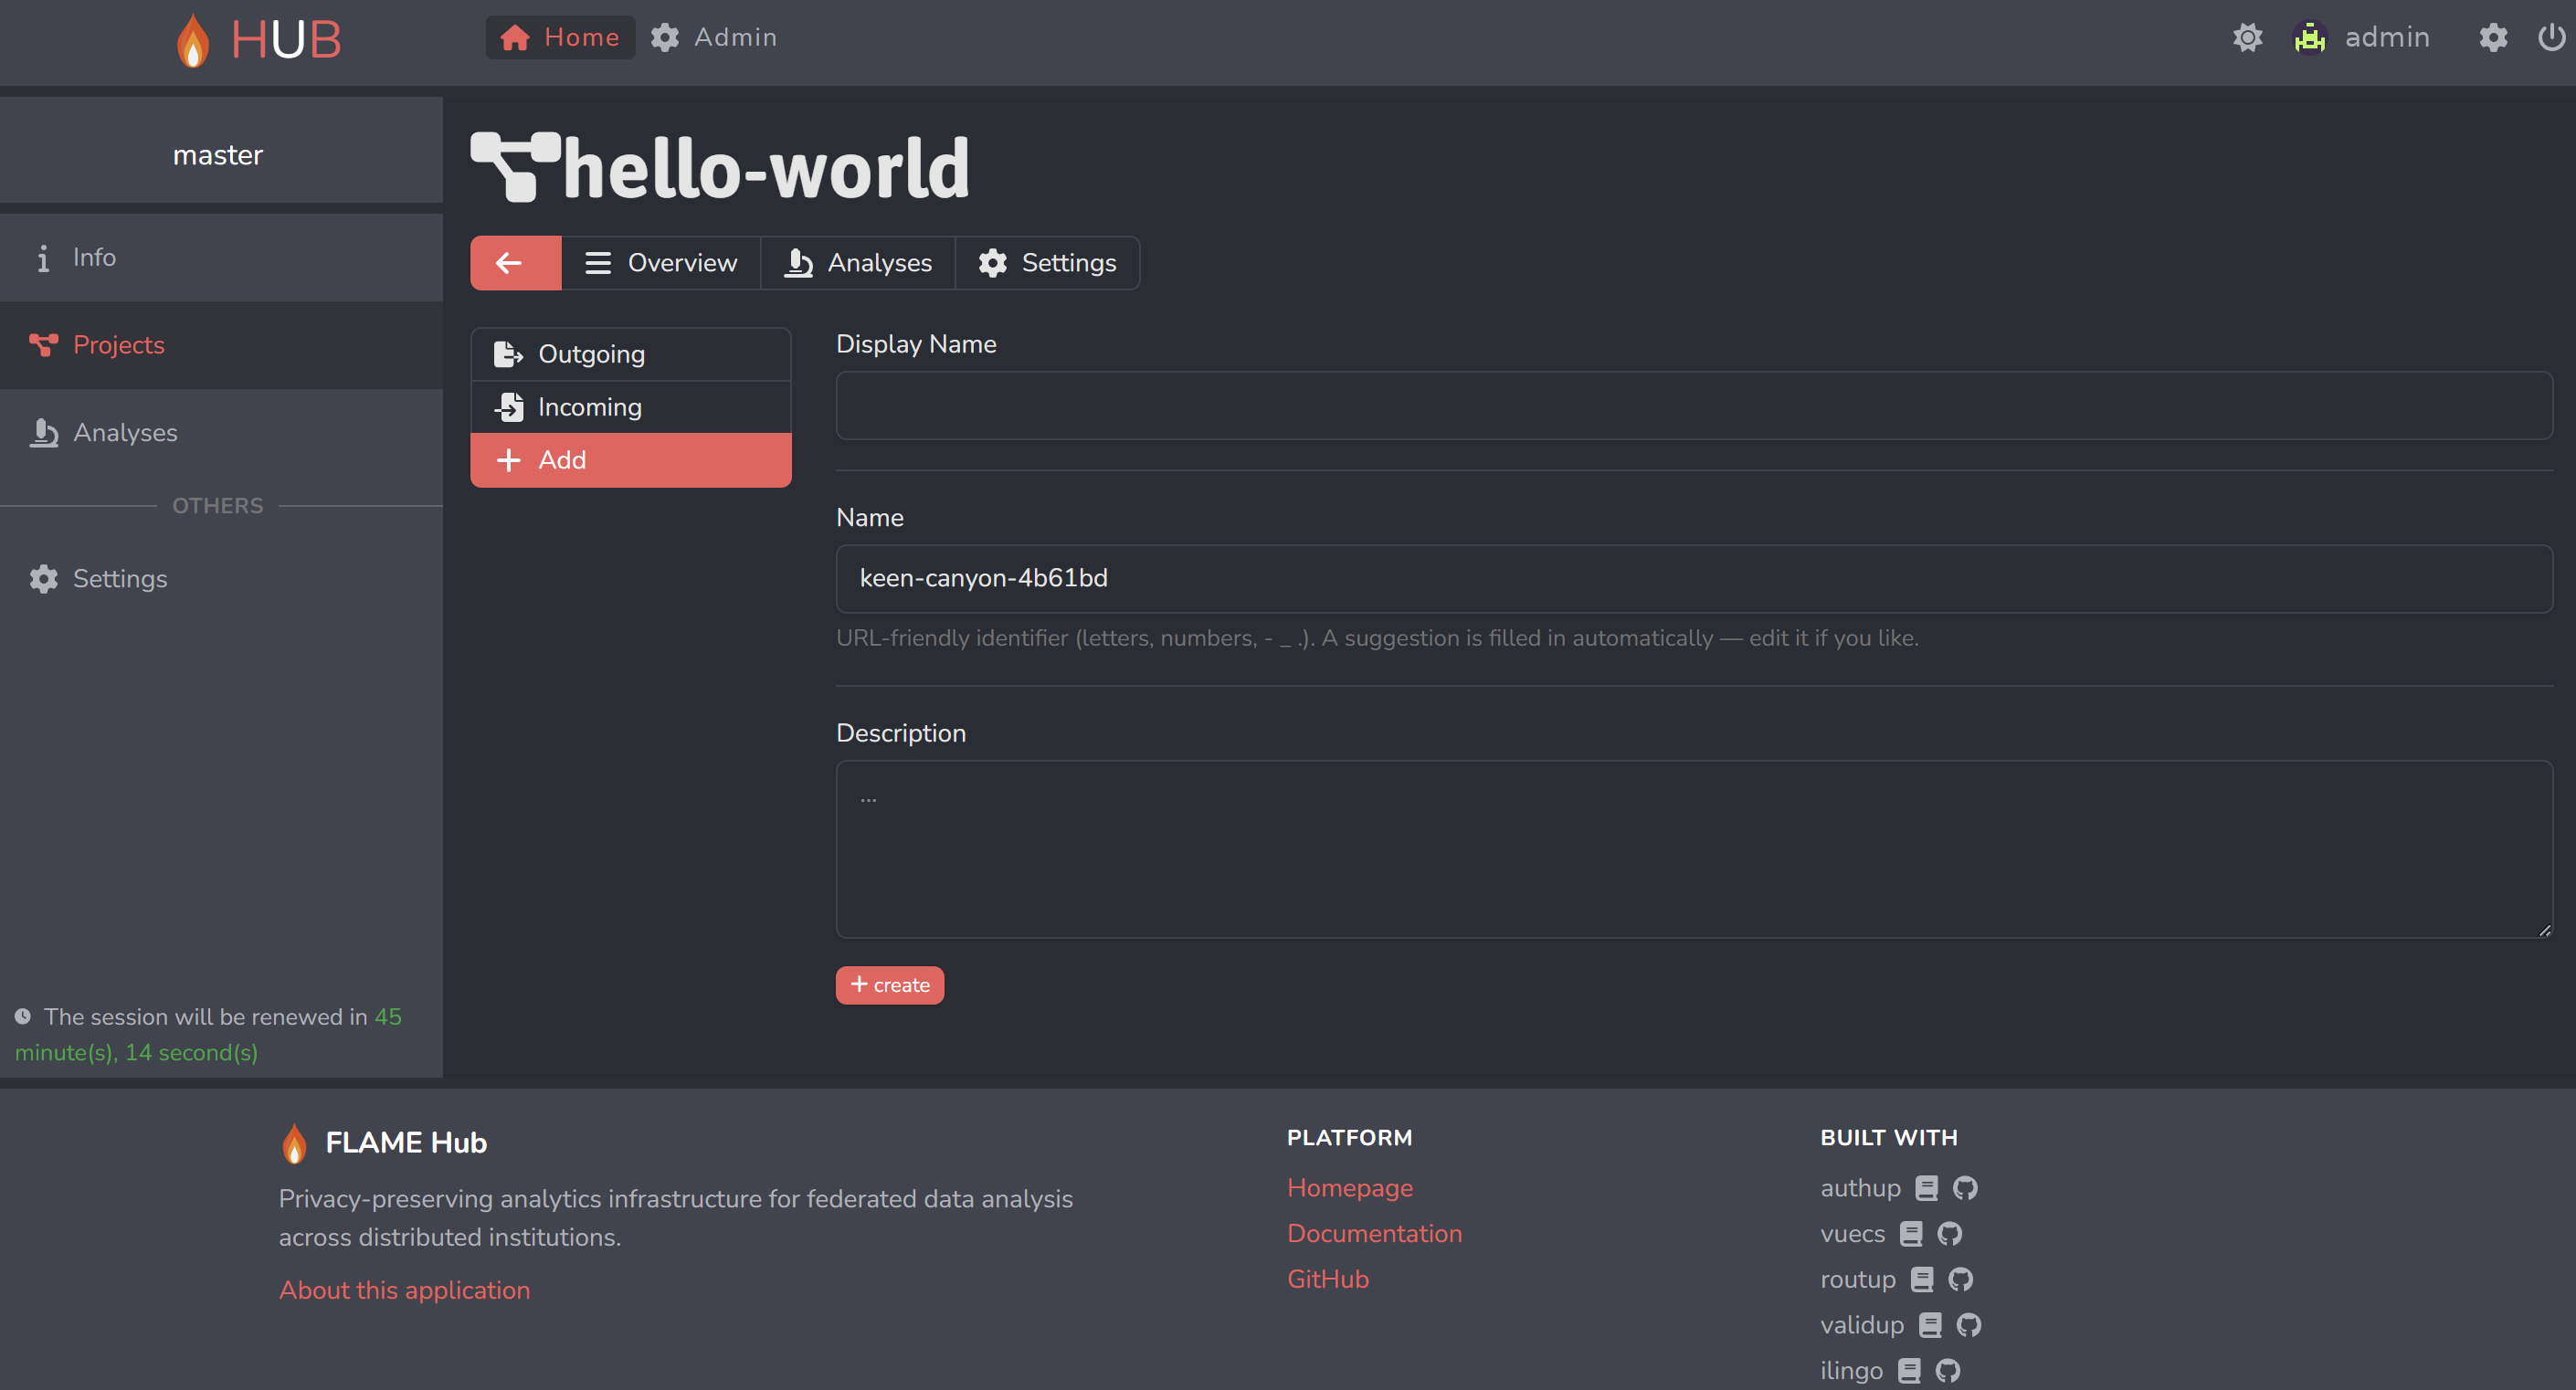
3. Configure Analysis
Analysis Wizard — key steps:
- Node Selection: In the Nodes tab, choose the nodes the analysis should run on. By default, all nodes available in the project are selected.
- Upload: In the Code tab, upload one or more analysis code files — either a single file or an entire directory.
- Image Selection: In the Image tab, define the master image group and select the appropriate base image (e.g., Python base, ML, etc.). If no image contains the dependencies you need, see Requesting a Master Image.
- Select Entrypoint: In the Image tab, select the file that should serve as the analysis's entrypoint.
- Lock Configuration: Back on the Overview tab, once all requirements are fulfilled, the analysis must be locked to proceed to the next step.
Approval
Before the analysis can be built and executed, it must be approved by the nodes you selected during setup. Refer to the Admin Guide for detailed information on the approval process.
4. Build Analysis
Once all nodes have approved the analysis, the start button in the Build area can be clicked to build the container.
5. Distribute Analysis
To distribute the built analysis across the selected nodes, click the start button in the Distribution area. 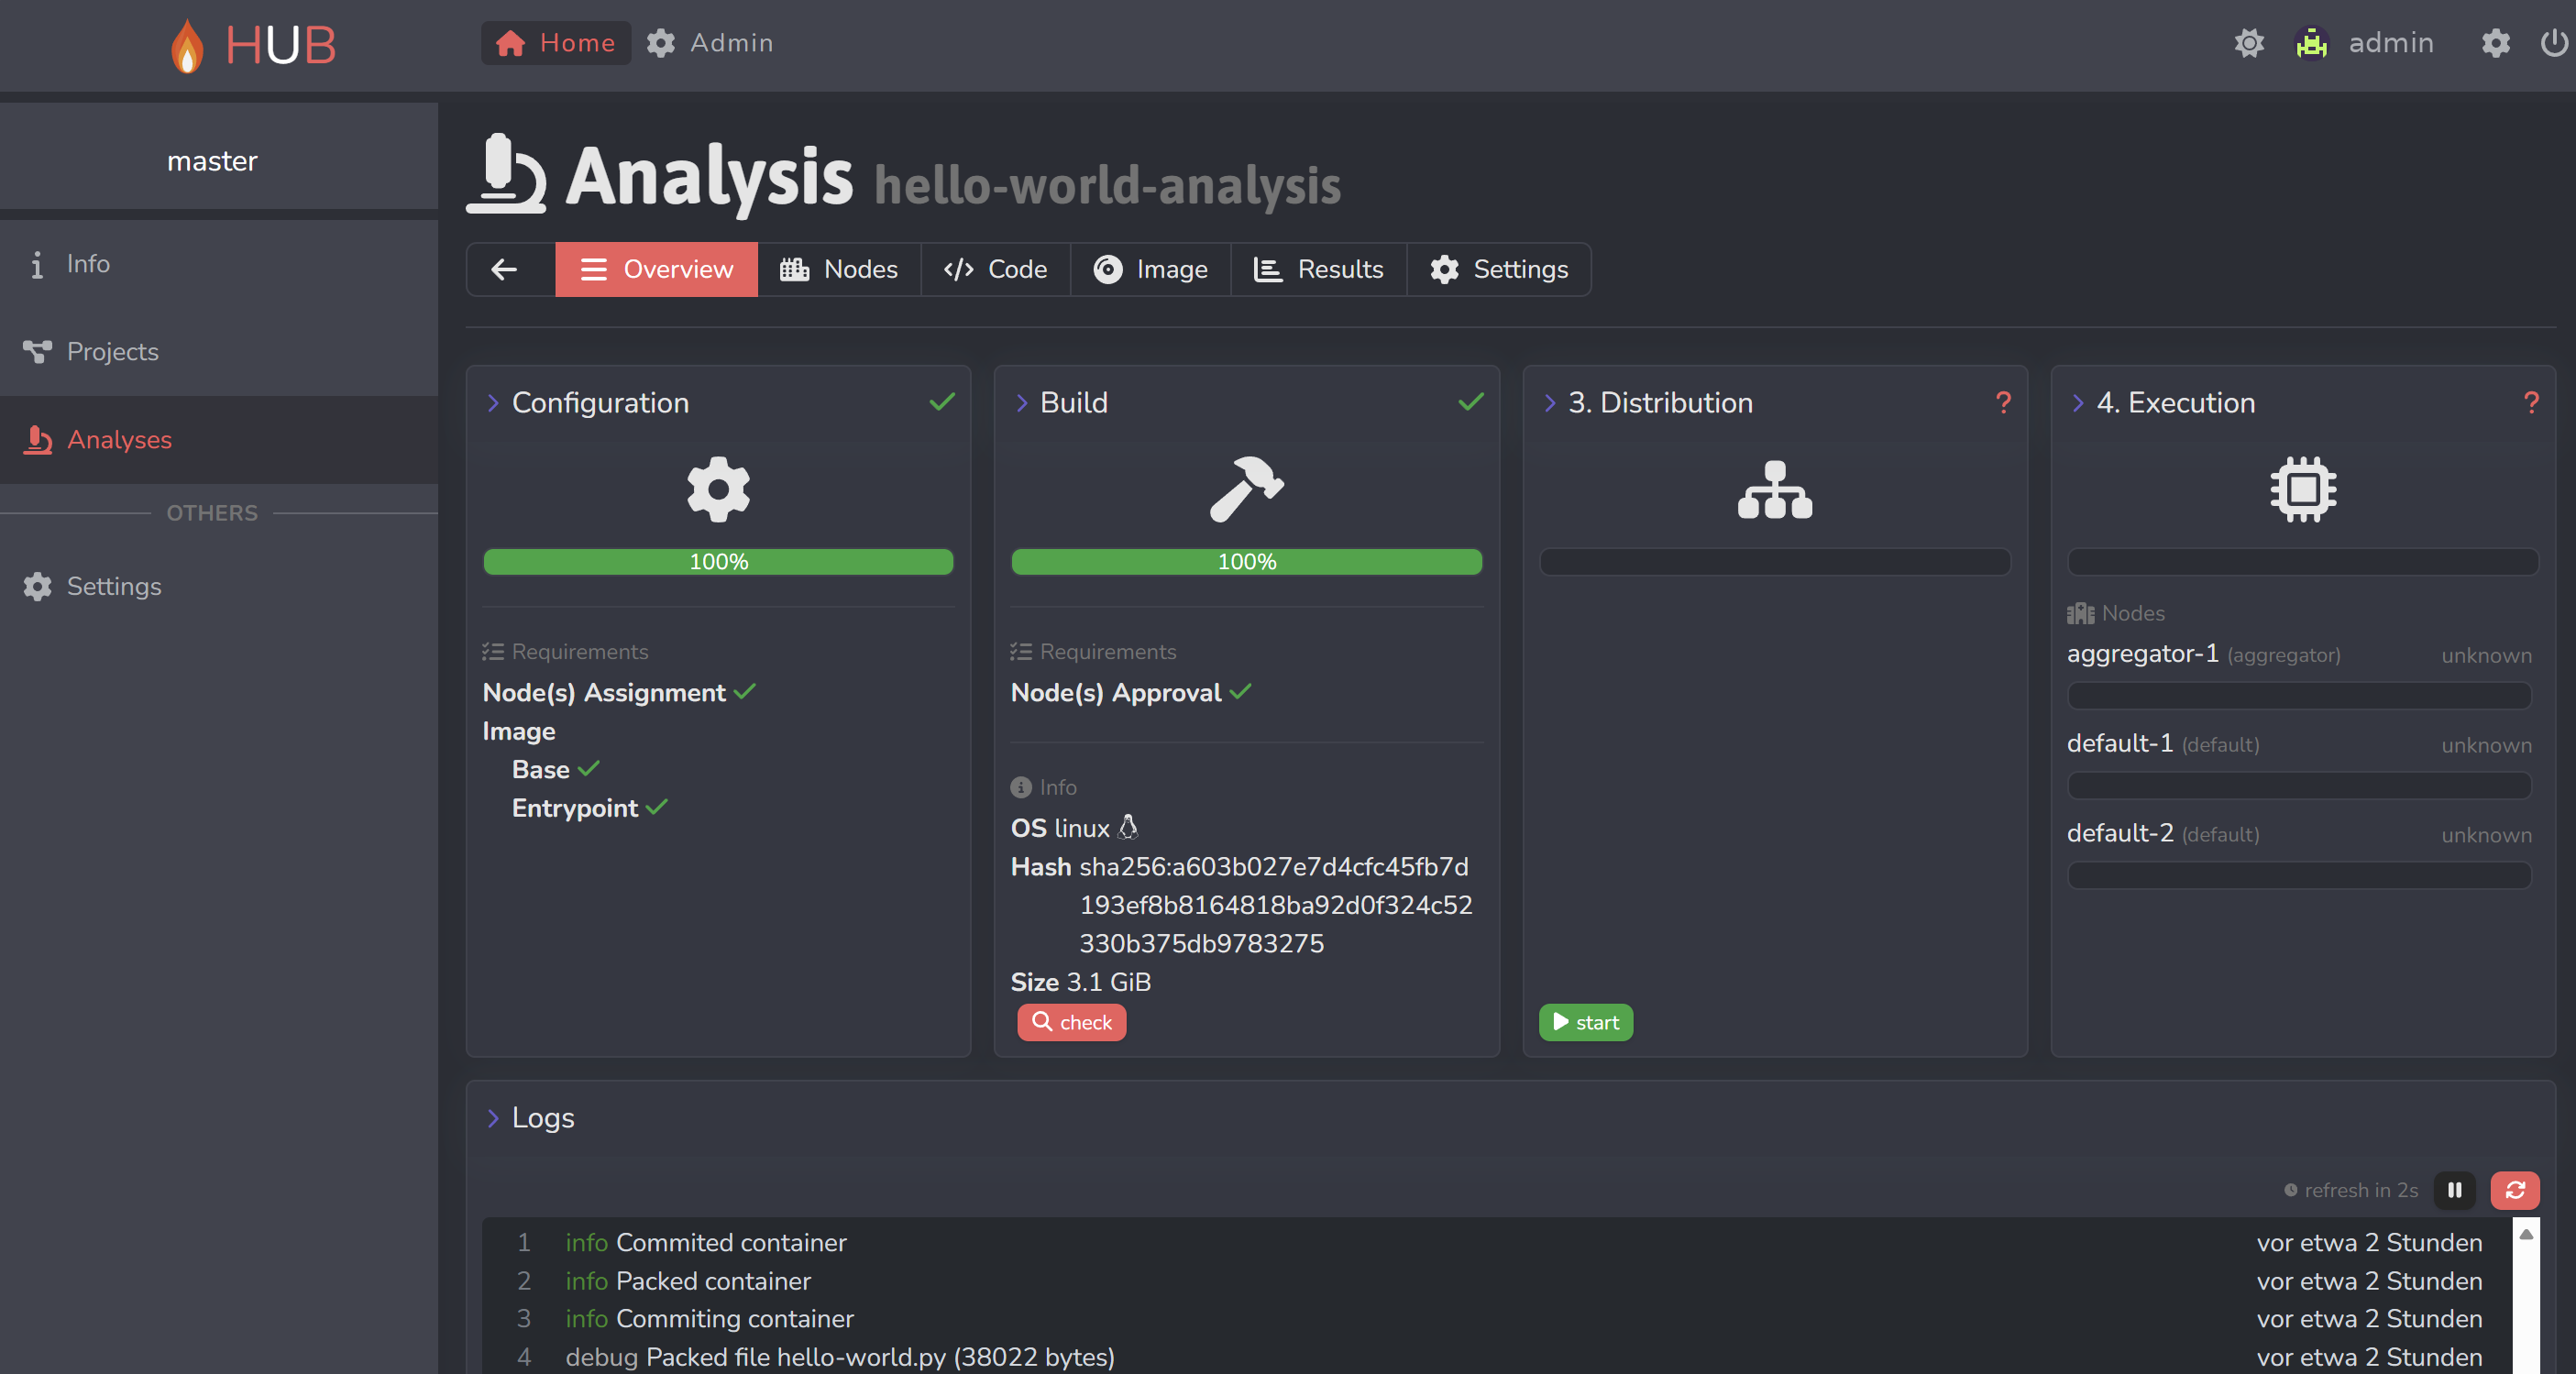
Execution
Once the analysis has been approved, successfully built, and distributed to the selected nodes, it is ready for execution.
Each node administrator must manually start the analysis via the node UI. For more details, consult the Node Guide.
Download Results
Once all nodes have completed the analysis, click the Download button under the Results tab to retrieve the result files.