Clients
Notice
In order to manage your identity-providers, nodes, ... you need to get an organization. Please contact us, such we can provide you a realm in which you can manage all your nodes, users and identity providers. For more details on realms click here.
Clients may be freely created and edited by the admin. They are pseudo-users, which are handled directly by the API, meaning that you will not be able to login in the central App with their credentials. This allows for slightly faster automatized pipeline executions for the PHT's functions.
- Within the admin area (top left), you need to select Clients within the left navigation.
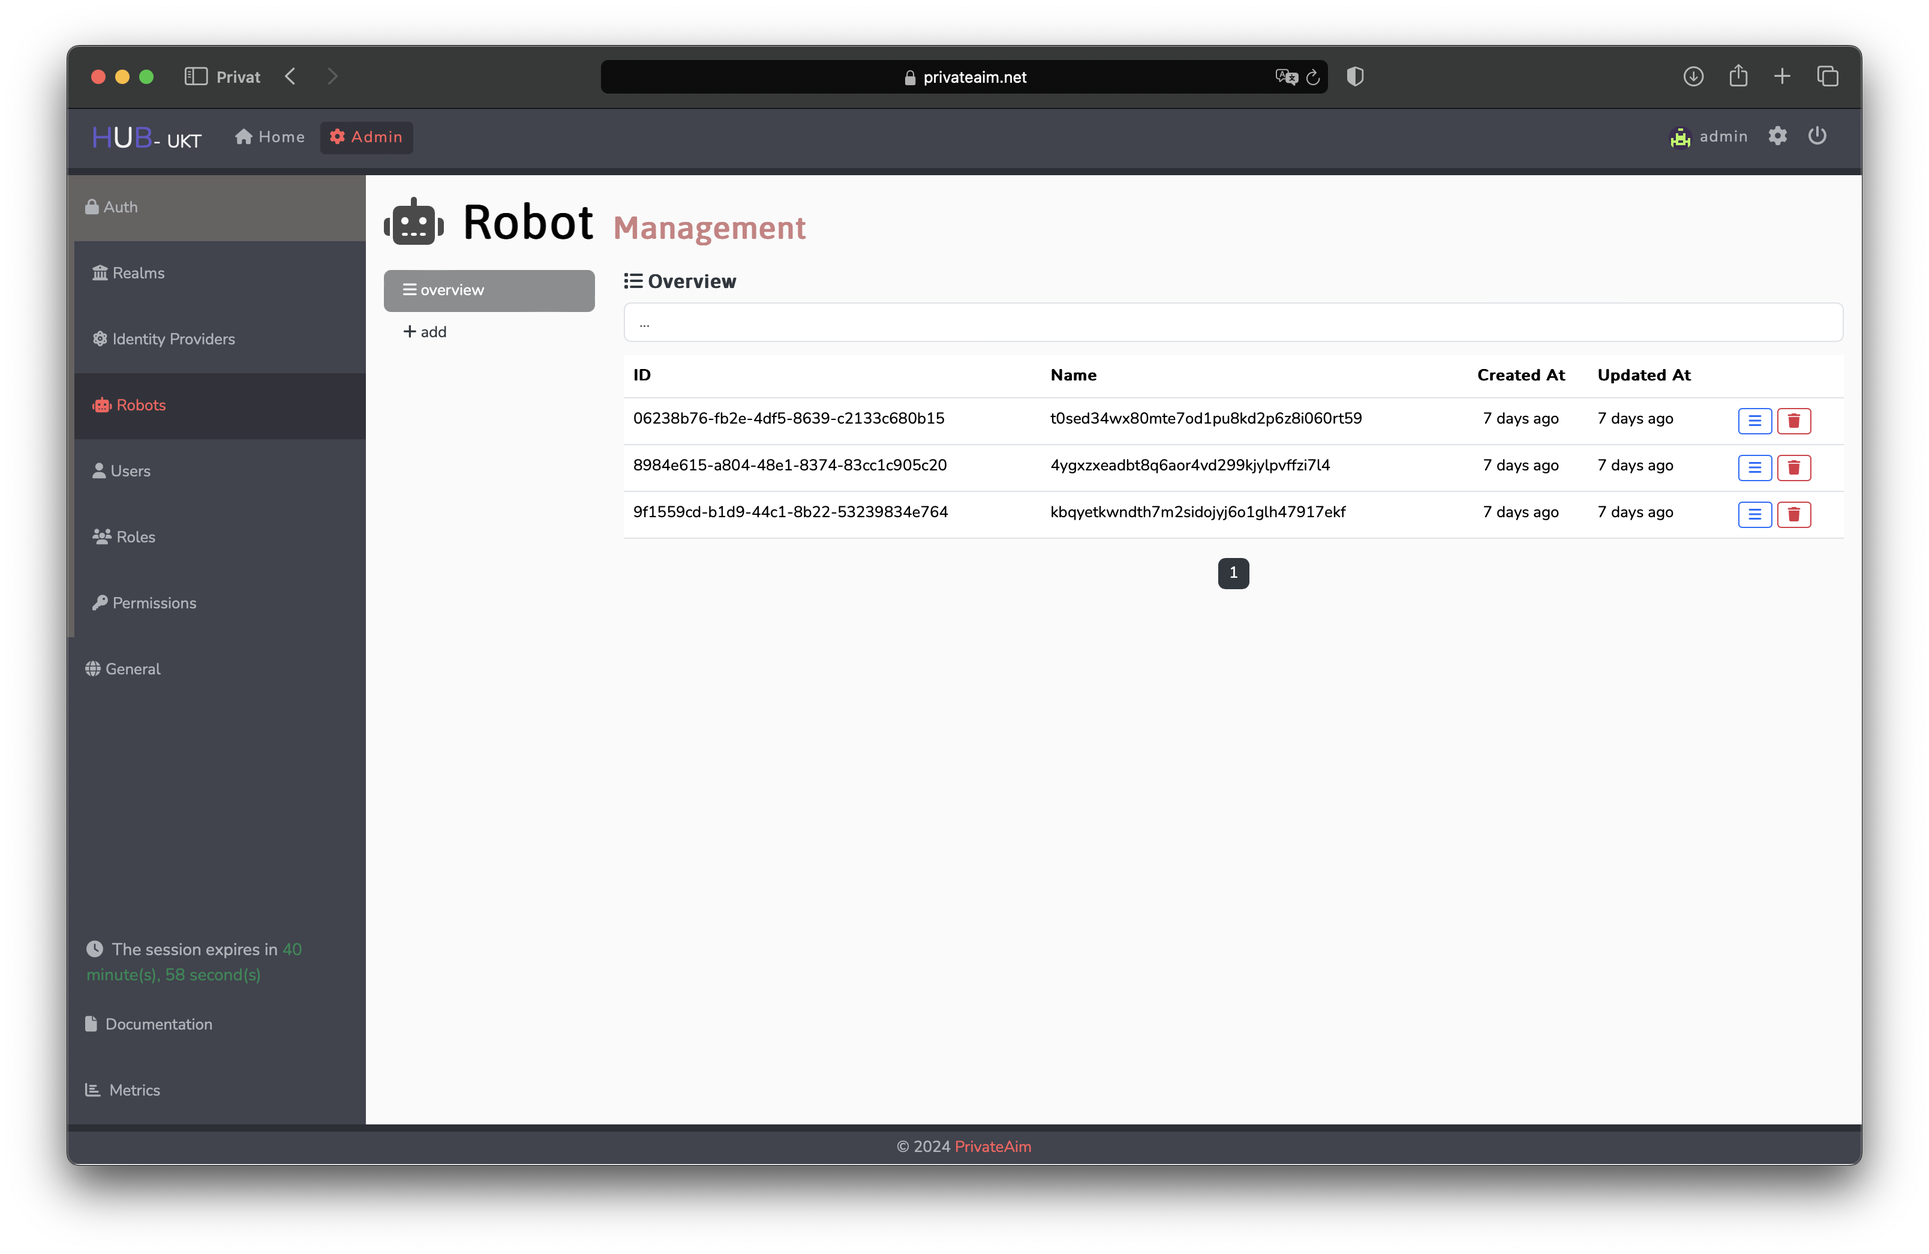
- View existing clients (Optional: Use the search bar at the top).
- See/Edit details for each client by clicking the blue triple-bar button on the right. Doing so shows the general description of the client.
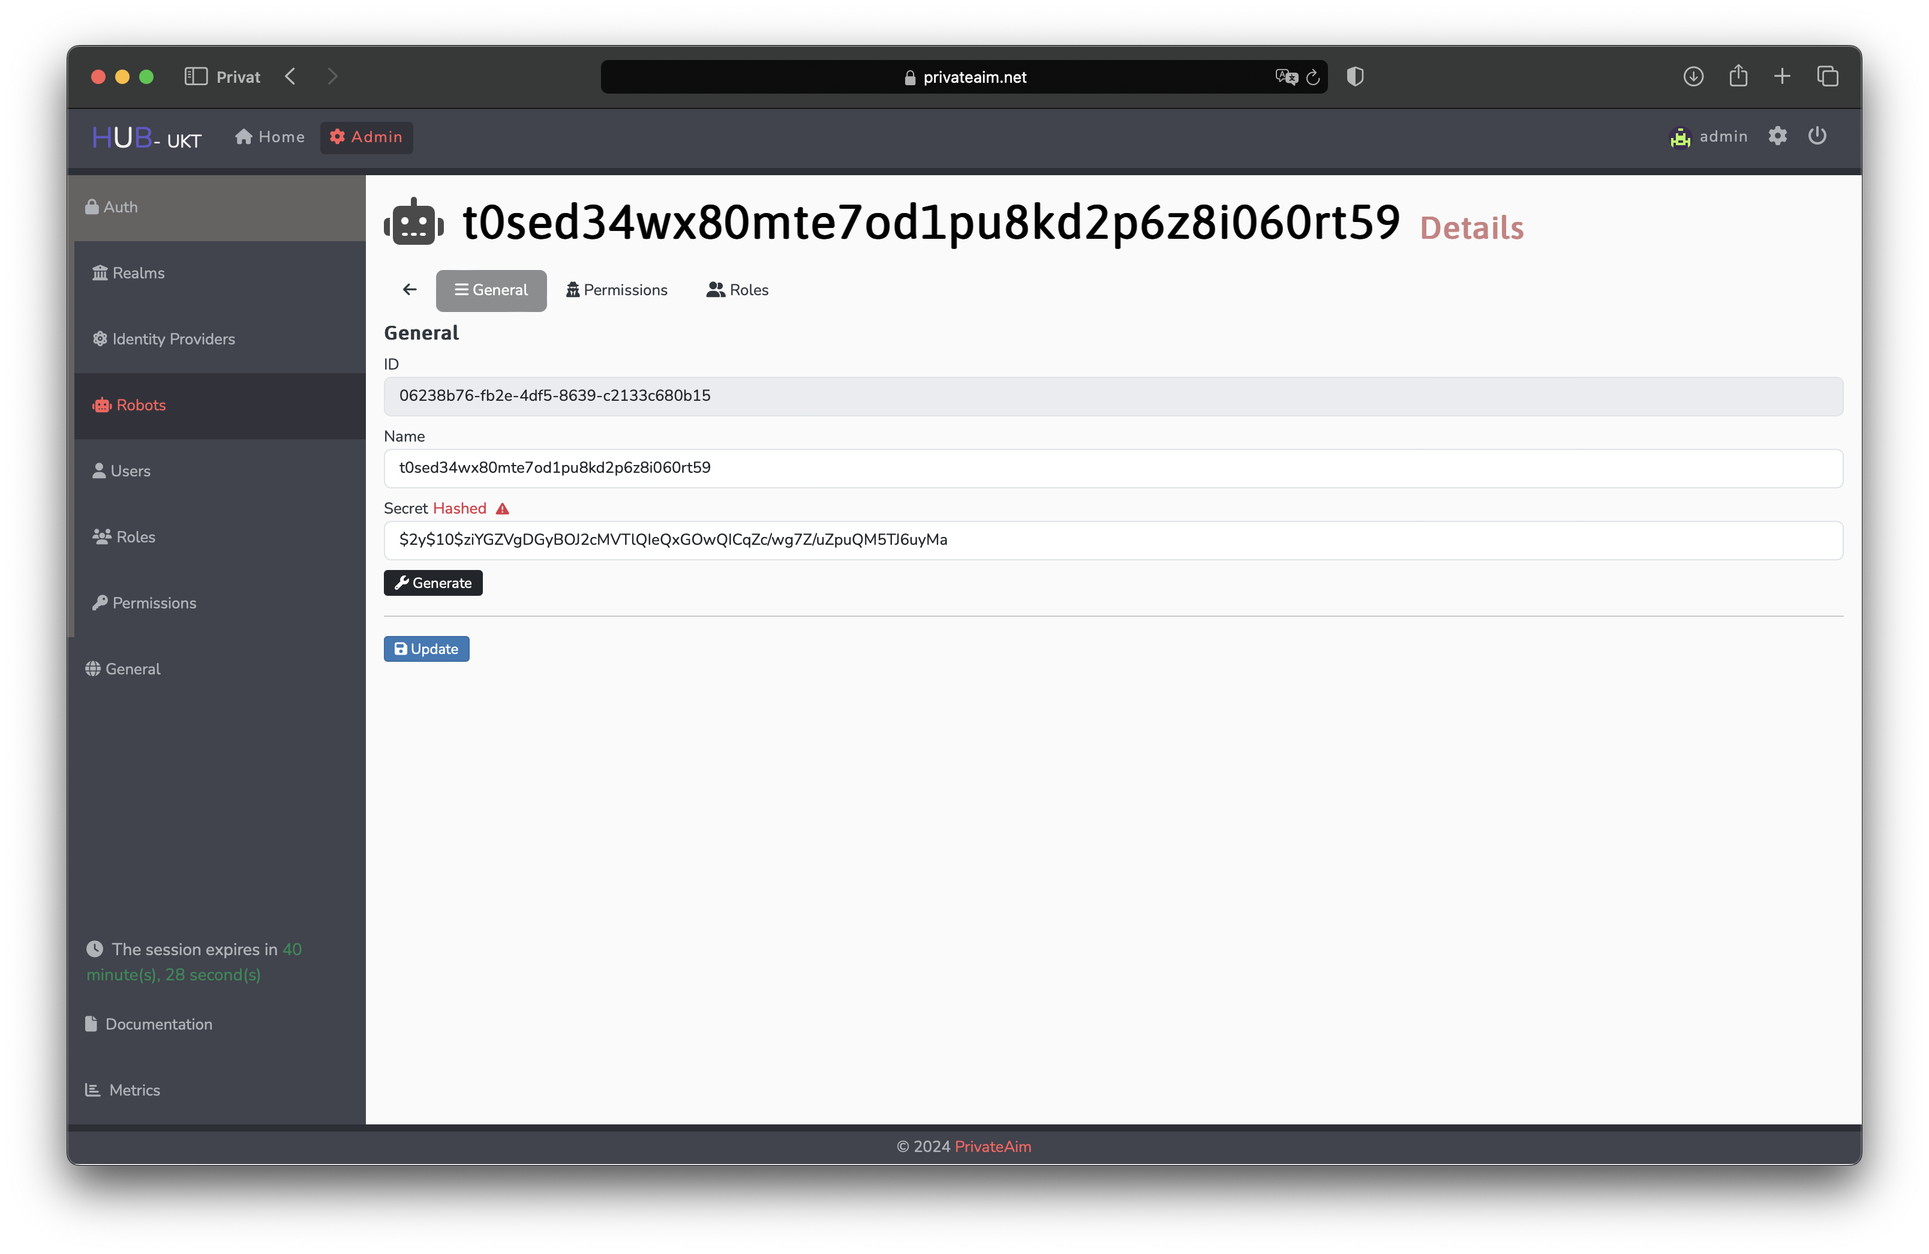 You may also specify realms of other users if you wish to make it accessible for them.
You can furthermore specify the roles and associated permissions of the client with the tabs on top under its name to ensure it does not have any authorities beyond the ones necessary for its functionalities. For this, roles describe a rough outline specifically targeted at the admin's own realm.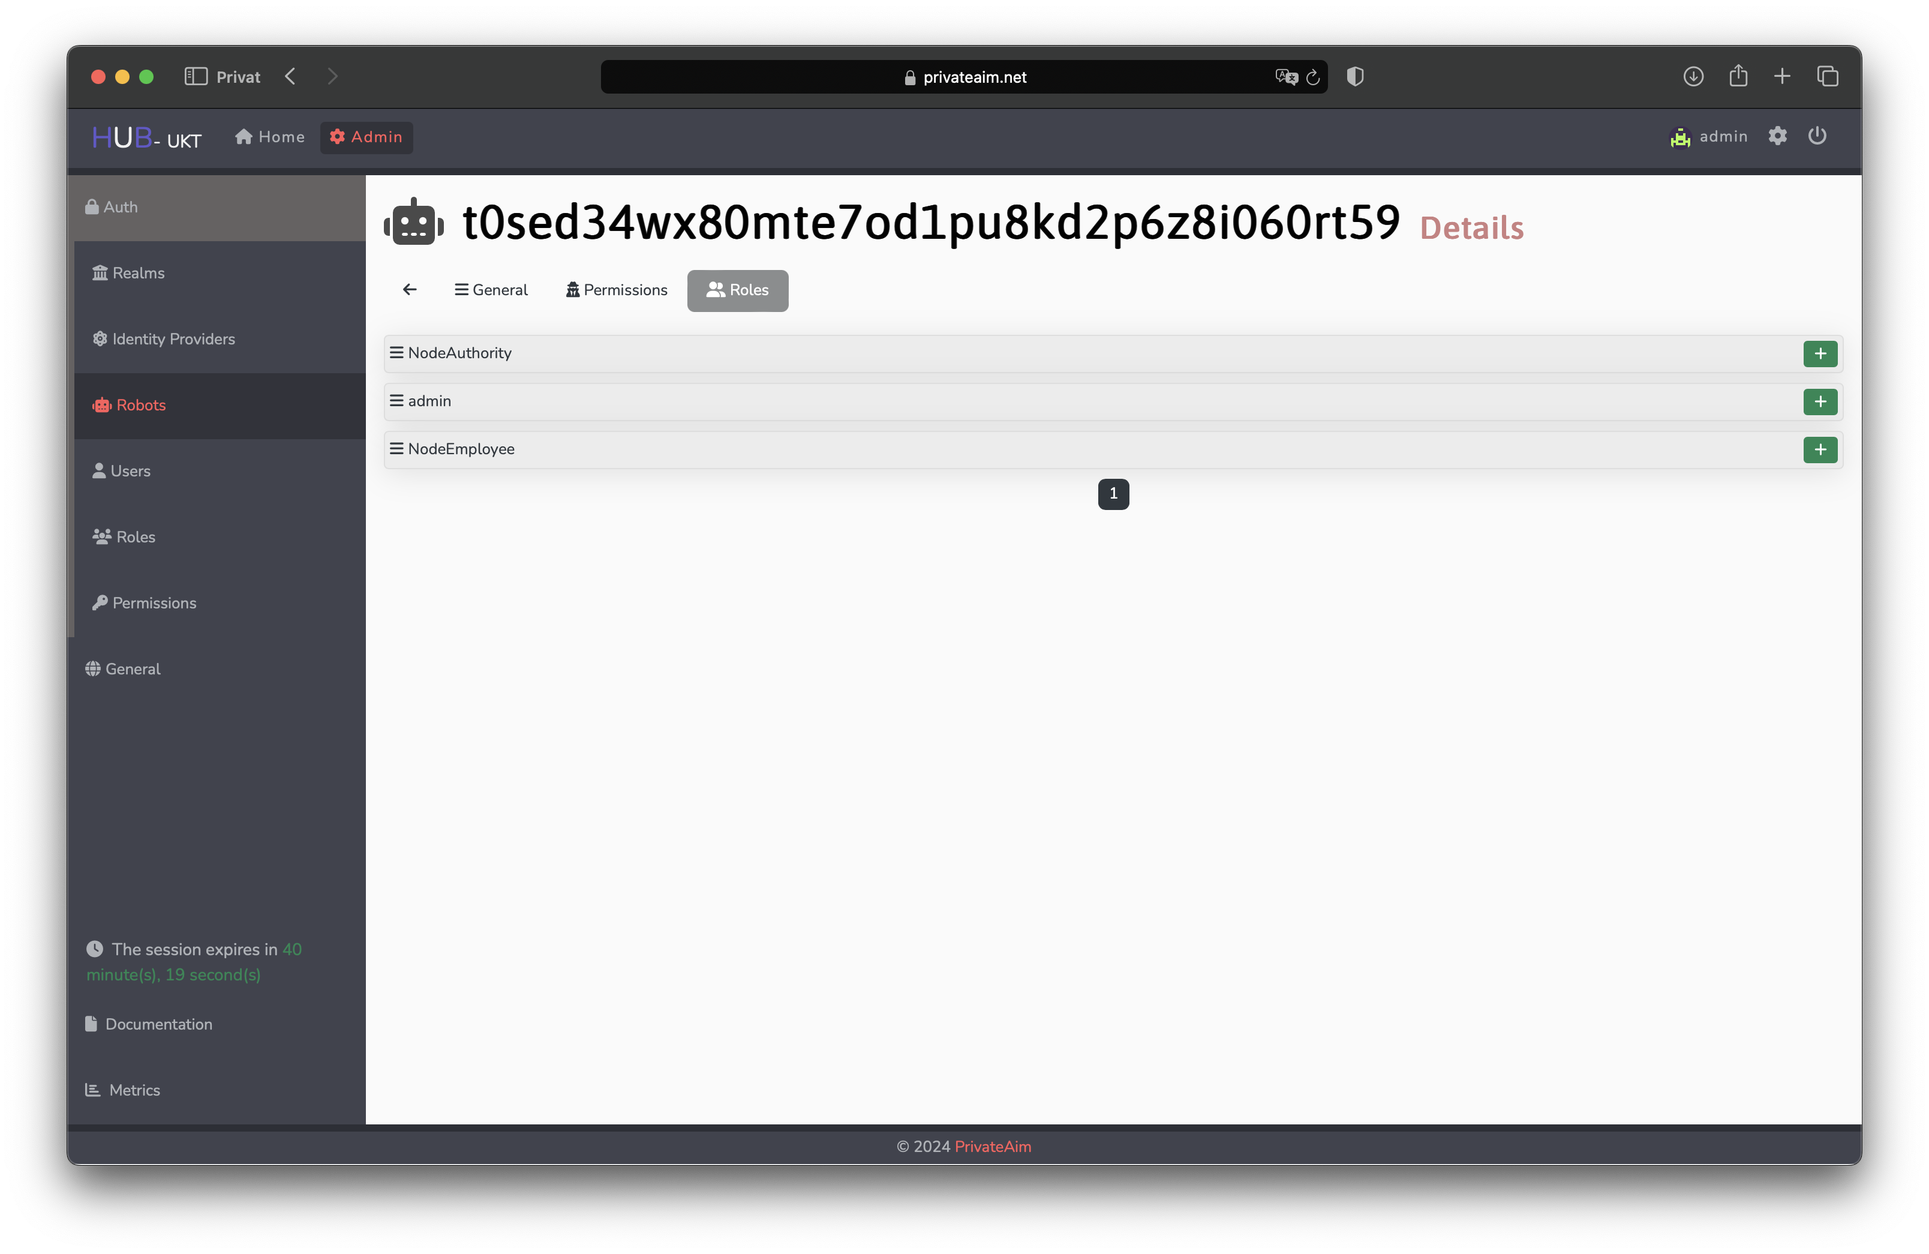
If the client is shared though, it is useful to declare the underlying permissions in order to ensure it is working in other realms as well (as the permissions of their roles may vary).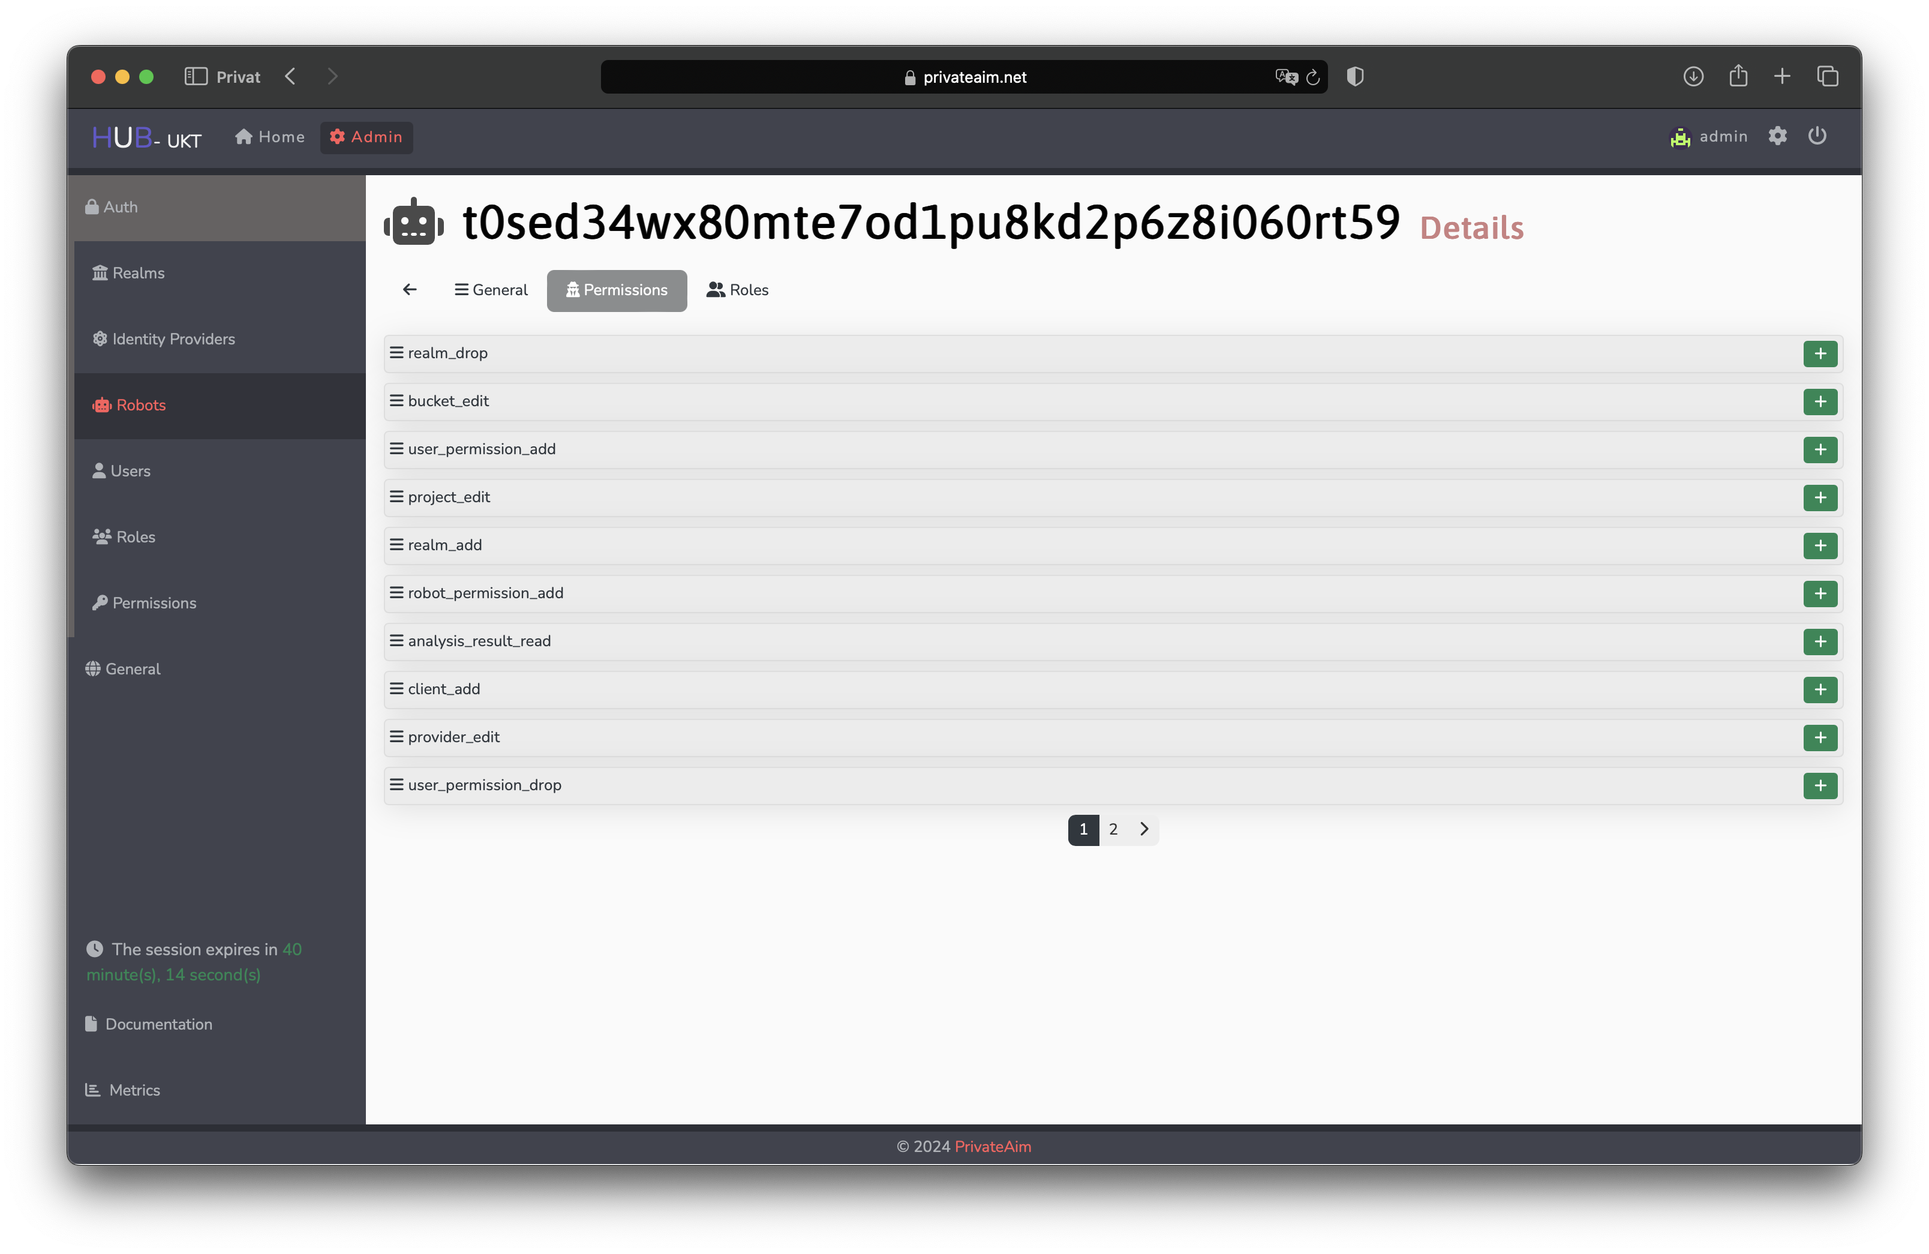
Adding either roles or permissions to the client is done by clicking the green plus-symbol on the right. Vice-versa, roles and permissions can be removed from the client by clicking the red trashcan-button there. - Delete clients by clicking the red trash can button on the right.
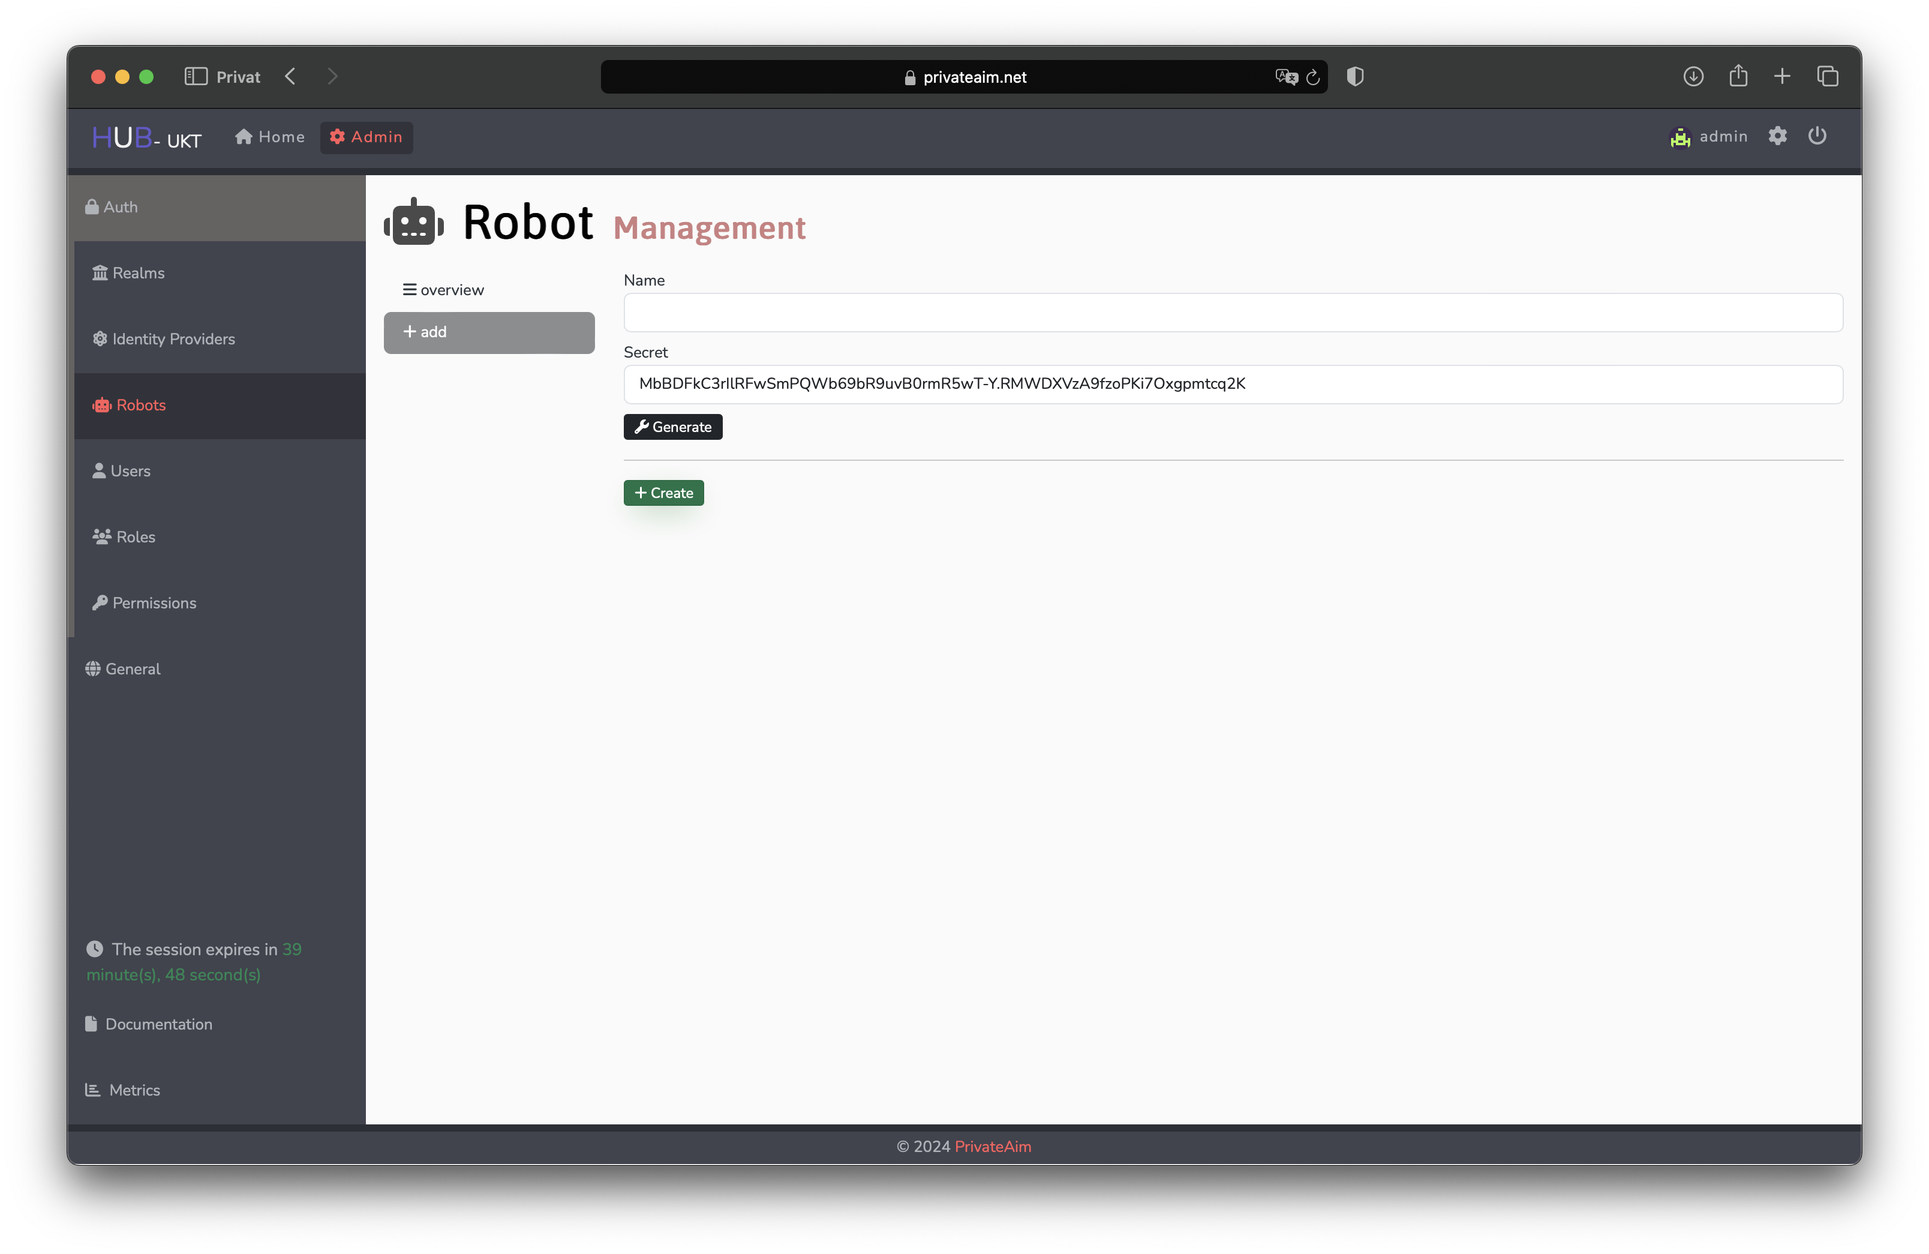
- Add clients by clicking the grey plus button on the left of the overview. For this, a name and description of the client have to be given.
- Refresh this list anytime by clicking the black refresh button on the top right.